TV Installation: A Homeowner’s Guide to Installing Your TV
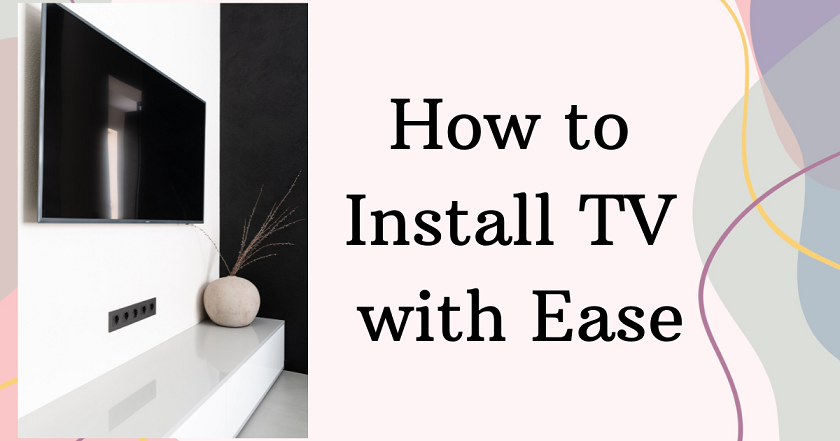
Learn how TV installation can be done with no effort. We cover all the tools and steps for a perfect TV setup in your home.
So you’ve just bought a new TV and you want to get it on the wall or on a stand.
But let’s be real, the thought of installing it is a bit scary.
Don’t worry—I get it! Installing a TV shouldn’t be painful.
Here’s everything you need to know about TV installation.
We’ll cover the tools you’ll need, the steps to mount or set up your TV and some helpful tips.
A proper installation will not only look good but give you the best view.
Stick with me and you’ll be watching your favourite shows on your TV in no time!
Tools Required
Before you start installing your TV, make sure you have all the necessary tools.
Having everything ready will make it easier and more fun.
Here’s what you’ll need:
- TV Mount or Stand: Mount is for wall installation, stand is for table or TV unit.
- Stud Finder: To find the wooden beams behind your wall for a secure mount.
- Drill and Screws: To attach the mount to the wall. Make sure you have the right screws for your mount.
- Screwdriver: To tighten the screws. A power screwdriver will speed things up!
- Level: To ensure your TV is mounted straight. A crooked TV is not only annoying but looks weird.
- Tape Measure: To measure distances accurately so your TV is in the right spot.
- HDMI Cables: To connect your TV to other devices like a cable box or gaming console.
- Cable Management Clips: To keep those cables organized and out of sight for a clean look.
Now you have your tools. Now it’s time to get ready for the installation. The first step is to choose the right spot for your TV.
With your tools ready it’s time to prep for the installation. This step is important because good prep makes the actual installation much easier.
Here’s how:
1. Choose the Spot:
Before you drill any holes, think where you want to put your TV.
- Eye Level: Ideally your TV should be at eye level when you’re sitting. So you don’t have to strain your neck or eyes. Sit in your favourite chair and use a tape measure to measure the height of the TV.
- Viewing Angle: Consider where you’ll be watching from. The TV should face directly towards your seating area for the best picture. Don’t place it in a spot where sunlight will glare on the screen, as this will make it hard to see.
- Wall Condition: Check the wall you’ll be using. It should be sturdy enough to hold the TV mount. Make sure there are no electrical wires or pipes at the back of the wall where you’ll be drilling. You can use a stud finder to help with this.
2. Measure and Mark:
Now you’ve chosen the spot, it’s time to measure and mark.
- Using a Tape Measure: Measure the height and width where you want to install the TV. This will be centered and at the right height. Double check these measurements to avoid mistakes.
- Mark Drill Points: Use a pencil to mark the spots where you’ll be drilling. This will be your guide when attaching the mount or stand. Make sure these marks are level and evenly spaced.
By prepping and marking you’ll be installation hassle free. This will ensure your TV is secure and looks great in your space.
3. TV Installation Guide
Let’s go through the steps to get your TV on the wall or on a stand.
Mount the TV:
- Step 1: Use the stud finder to find the wooden beams inside your wall. Mark these spots with a pencil. You’ll need to screw into these beams to make the mount secure.
- Step 2: Attach the mounting bracket to the wall using a drill and screws. Check it’s level with your level tool.
- Step 3: Once the bracket is secure, hang your TV on it. Double check everything is tight and aligned.
Use a TV Stand:
- Step 1: If you’re using a stand, follow the instructions to assemble it.
- Step 2: Place the TV on the stand. Make sure it won’t topple over.
Connect Cables:
- Step 1: Connect HDMI and other cables to your TV. These will be for a DVD player, game console or cable box.
- Step 2: Use cable management clips to keep the cables tidy. This will stop them from tangling and looking messy.
4. Final Check and Test
Now your TV is installed, it’s time for the final touches.
- Level the TV: Check if your TV is straight using a level. If it’s not, you may need to adjust the mount slightly.
- Adjust Settings: Turn on your TV and go through the settings menu. Adjust the picture and sound to your liking for the best viewing experience.
- Test Connections: Make sure all cables are working. Check your TV is getting a signal from any connected devices like your cable box or game console.
How to Fix Common Problems
Even with a great installation you may run into a few issues. Here’s how to fix them.
- TV Not Level: If your TV isn’t level, you may need to adjust the mount or stand. Check the level again and make sure everything is tightened up.
- Cable Management: If cables are messy, adjust the cable management clips or add more clips to keep everything tidy.
- Connection Issues: If the TV isn’t displaying correctly, check all cable connections. Make sure everything is plugged in.
Care and Maintenance
Now your TV is installed and ready to go, a few simple steps will keep it in top condition.
Here’s how to keep your TV looking and performing its best:
Cleaning Tips:
Cleaning your TV screen is important for picture quality.
- Soft Cloth: Use a soft, dry microfiber cloth to clean the TV screen. These are gentle and won’t scratch the screen. Don’t use paper towels or rough fabrics.
- Gentle Cleaning: If you need to remove smudges or fingerprints, dampen the cloth a little with water or a cleaner designed for electronics. The cloth should only just be slightly damp, not wet, to avoid moisture getting into the TV.
- No Harsh Chemicals: Avoid cleaning sprays or solvents with alcohol, ammonia or strong chemicals. These can damage the screen coating and cause permanent damage.
Check the Mounts:
It’s a good habit to check the TV mount every few months to ensure your TV is still secure.
- Check the Mount: Take a look at the mount and brackets every few months. Make sure they’re still screwed to the wall. If you see any movement or looseness, you may need to tighten the screws.
- Tighten Screws: Use a screwdriver to check and tighten any screws that hold the mount to the wall. This will stop the TV from tilting or wobbling which is annoying and potentially dangerous.
By following these simple steps you’ll extend the life of your TV and get the best out of it.
Conclusion
And that’s it! You’re installed and ready to watch your favourite shows and movies.
You’ve turned a big job into a small one. If you have any more questions or need help, get in touch.
Enjoy your TV and don’t forget to take care of it!